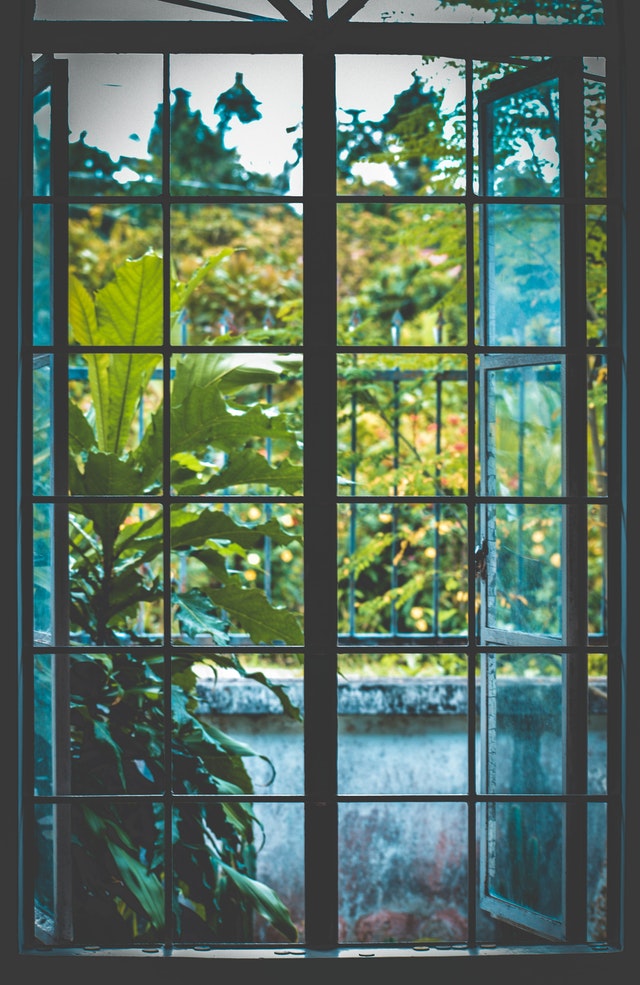
How to paint window frames & panes black

Are you looking to add an extra ‘pop’ to your home? You may be familiar with the newest trend going around, painting window frames/ panes black. A handful of my friends have done this change, and their finished results are absolutely stunning! This is such a simple -yet beautiful way to make your home feel upgraded! Let's face it almost everyone has the typical white window panes, or if you have the older windows they are probably silver. I believe this is a great way to make your home different from most, to have that unique look! If you're a Halloween fanatic like myself, let me just add the Halloween decor goes great with this look as well!
There are a small number of ways to tackle this project by; spray painting, using a paint sprayer or a gold old paint brush. In this blog I chose to go the spray painting route. I love the finished and spotless look spray painting gives. I wasn't too sure if using a paint brush would leave any brush steaks also.
When choosing your paint keep in mind as i've said before, please do what research you feel necessary. This is a high traffic service and you want to avoid later down the road any marks from sliding your windows open and shut, you want something that is going to last. In this case I choose brand Krylon fusion all in one which is around five dollars a bottle -great price! I have read a few customer reviews stating this is a very durable choice! While picking up your paint, you'll need masking film and blue tape also! Awesome right? A painting project that requires so little supplies!
Prep work is my least favorite part of any painting project. It is very time consuming and must be done right with no shortcuts! However your finished results will be so worth it! The prep work for this is pretty self explanatory, start by applying your painters tape to tape along the edge of your interior window frame. Next apply painters tape to the outer part of your window. (Apply painter's tape around the full frame/pane.)Applying tape is easiest to do before applying protective plastic because your lines will be easier to keep straight. Now you've completed the taping part, let's move on to protect the glass with your masking film. Cut plastic to fit your window then secure and tape down the masking film over every part of exposed glass. I've found the plastic clings to the glass fairly easily, so this step goes by fairly quickly. You will also want to cover the wall by the window to insure you don't get black spray paint on your wall! This is when 3M masking film works wonders! It is super wide and long, and has electric cling so you can stick it up against your wall without having to tape everywhere. You might want to lay some towels on the floor to avoid over spraying and getting any on your floors!
Time to paint! Now for the most enjoyable part! You will want to start in one corner to avoid drips and keep your spray constant and also be in constant motion. If you don't fully cover a white spot try to keep moving instead of going back over, your first coat will leave some areas with white still showing. It is best to do 2-3 coats to avoid drips instead of going back over the same spots while spraying. Do the best you can to cover all areas, but not going back to an unperfect spot. Apply desired coats, and take delight in knowing this paint takes up to 15 minutes to dry! Lastly, peel painters tape off and remove plastic coverings to see your finished product! Be careful not to wait too long to remove tape/plastic, the paint can start to stick to the tape and rip off the window as you remove it.
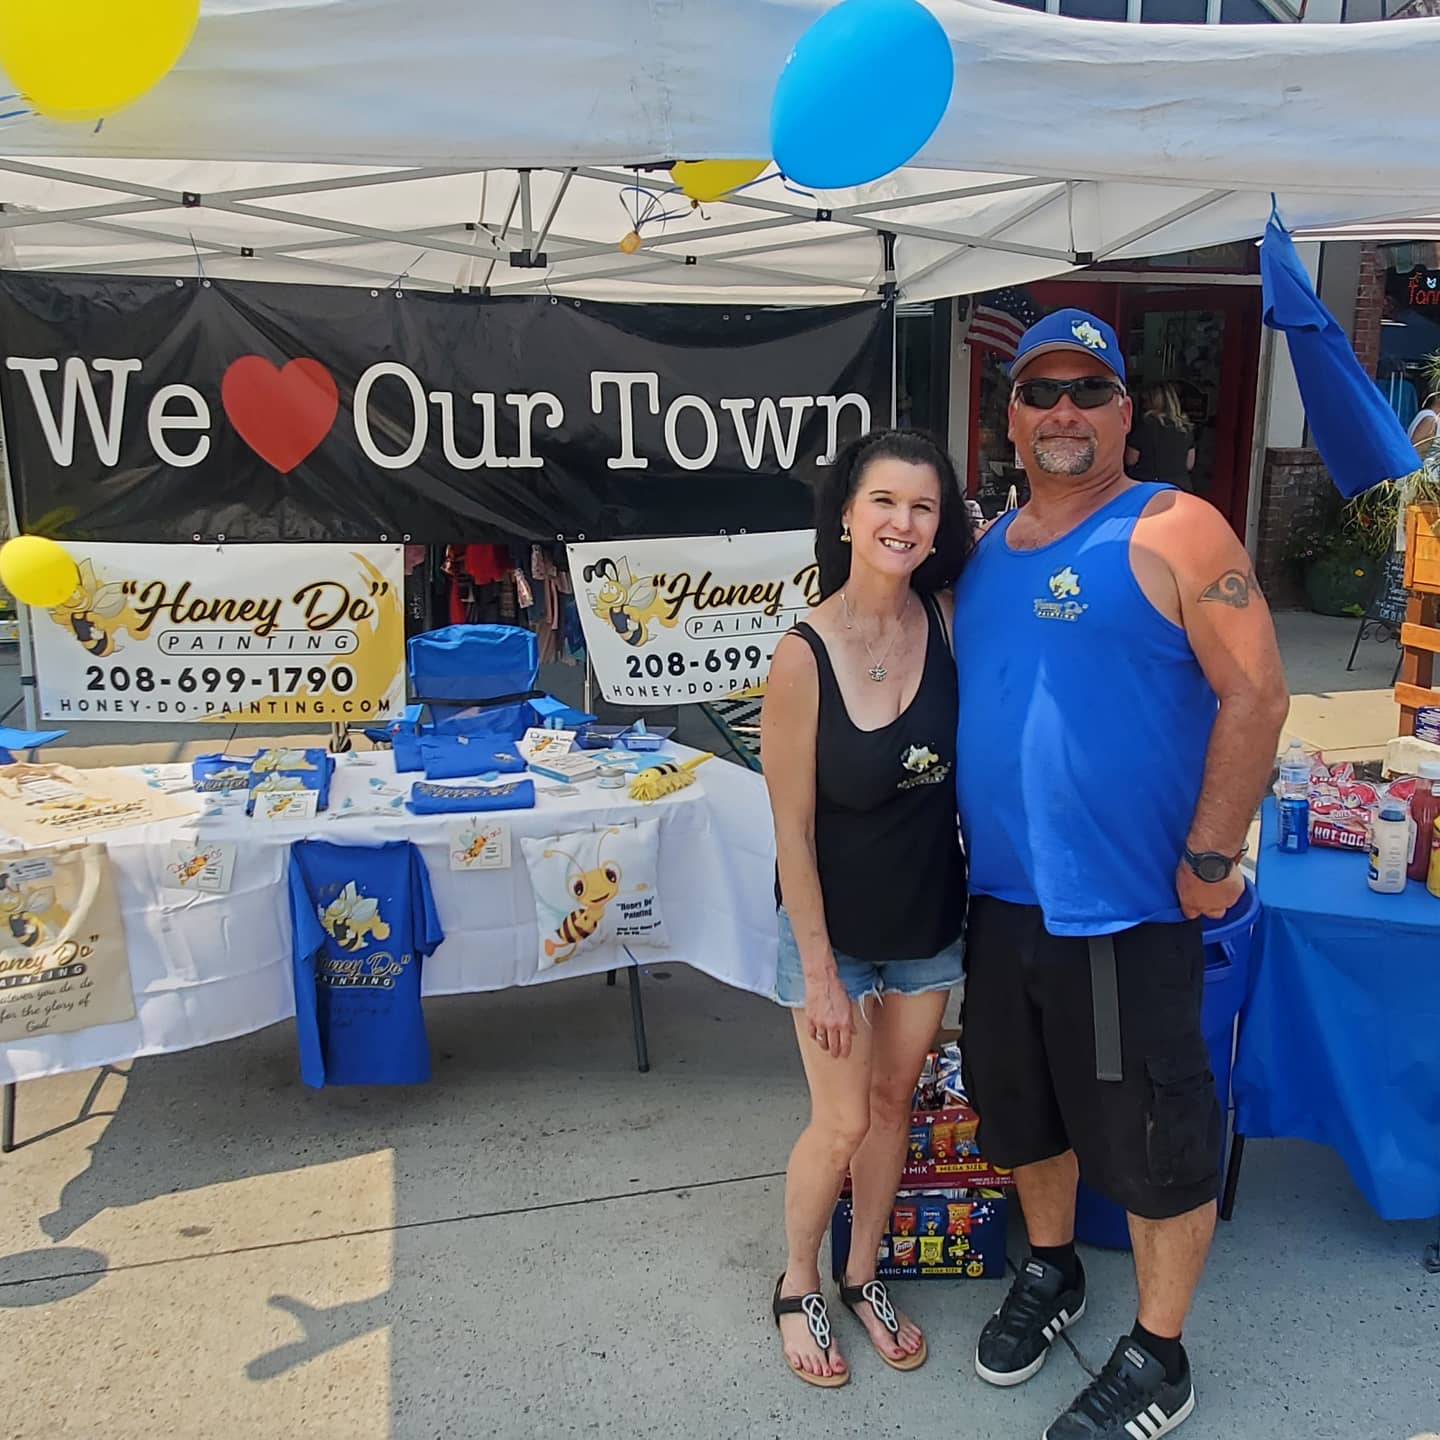
We hope your finished results turned out as envisioned! And that black trim adds character to your home! If you completed this project we would love to see your before and after photos! If you were just a reader to this blog I hope this inspired you to start painting or give Honey Do Painting a call to schedule an estimate!