


House Painting Contractors Bonners Ferry, ID
Our expert team specializes in a wide range of services, including new construction painting, exterior and interior painting, home remodels, deck and fence staining, cabinet installation and finishing, and woodworking. Whether you're a developer, general contractor, or homeowner, we work closely with you to ensure that your project is completed to the highest standards.
Get An Estimate- 35+ Years Experience
- 4000+ Happy Customers
- 5/5 Google Reviews


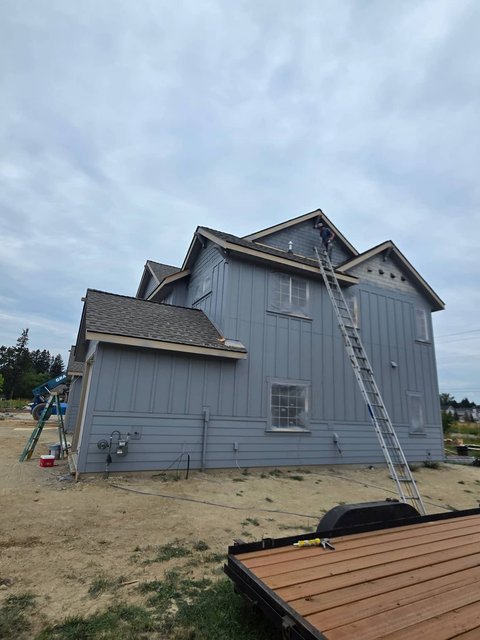
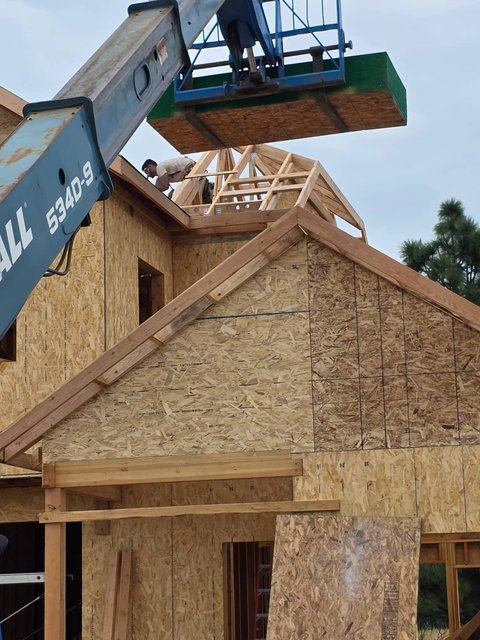
New Construction, Residentials, & Commercial Painting Services
At Honey Do Painting, we offer top-quality painting services for new construction, residential, and commercial properties, ensuring that every project, whether it's a newly built home, a residential renovation, or a commercial space, receives the same level of expertise, attention to detail, and commitment to excellence.
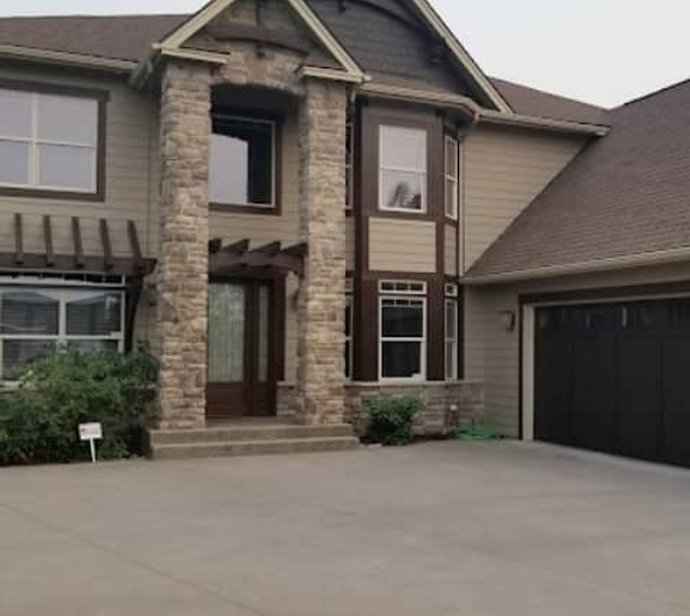
New Construction Painting
Expert painting services for newly built homes, collaborating with developers, contractors, and homeowners.
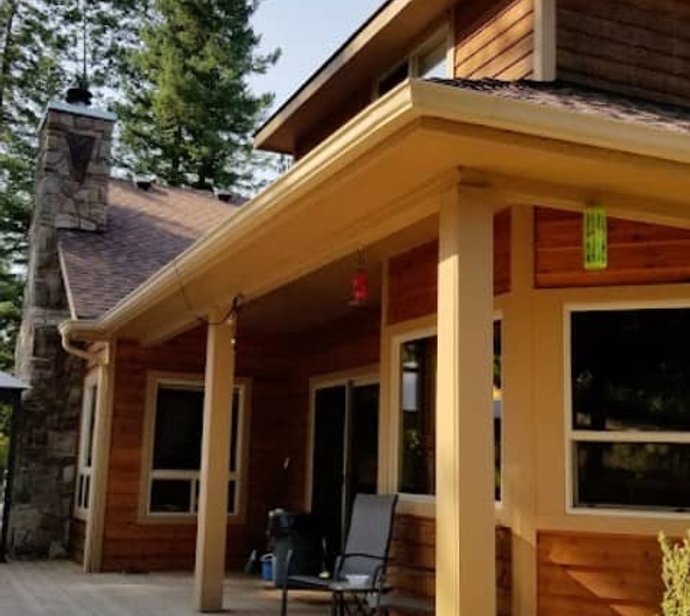
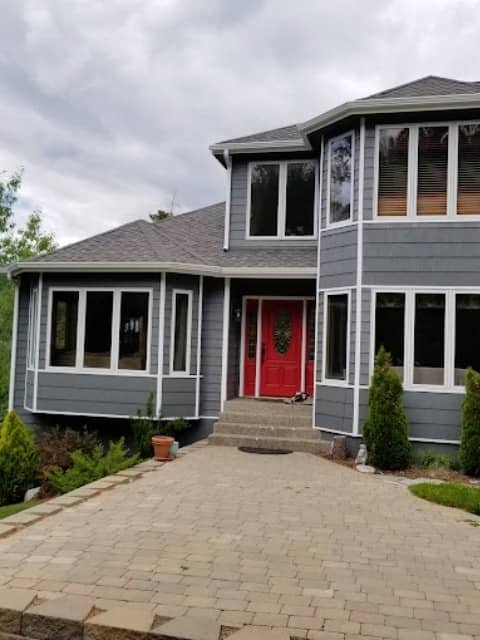
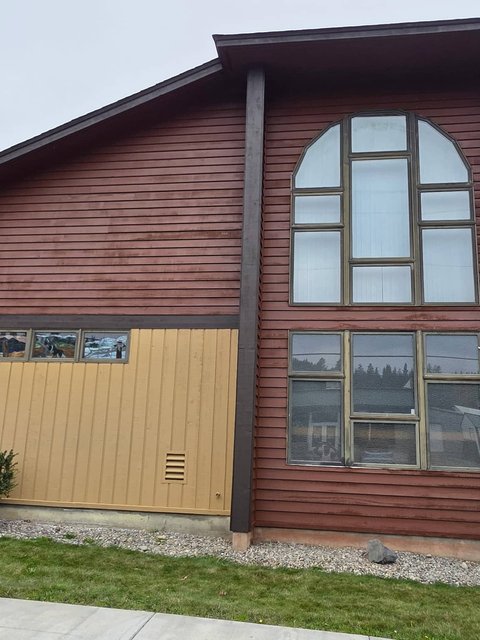
Exterior/Interior Painting
Skilled painters refreshing and protecting your home's appearance with high-quality materials and techniques.
Home Remodels
Honey Do Painting offers expert home remodeling and painting services, transforming your space with a perfect blend of functionality and style.
Commercial Painting
Efficient, cost-effective painting solutions for businesses, minimizing disruptions and delivering exceptional results.
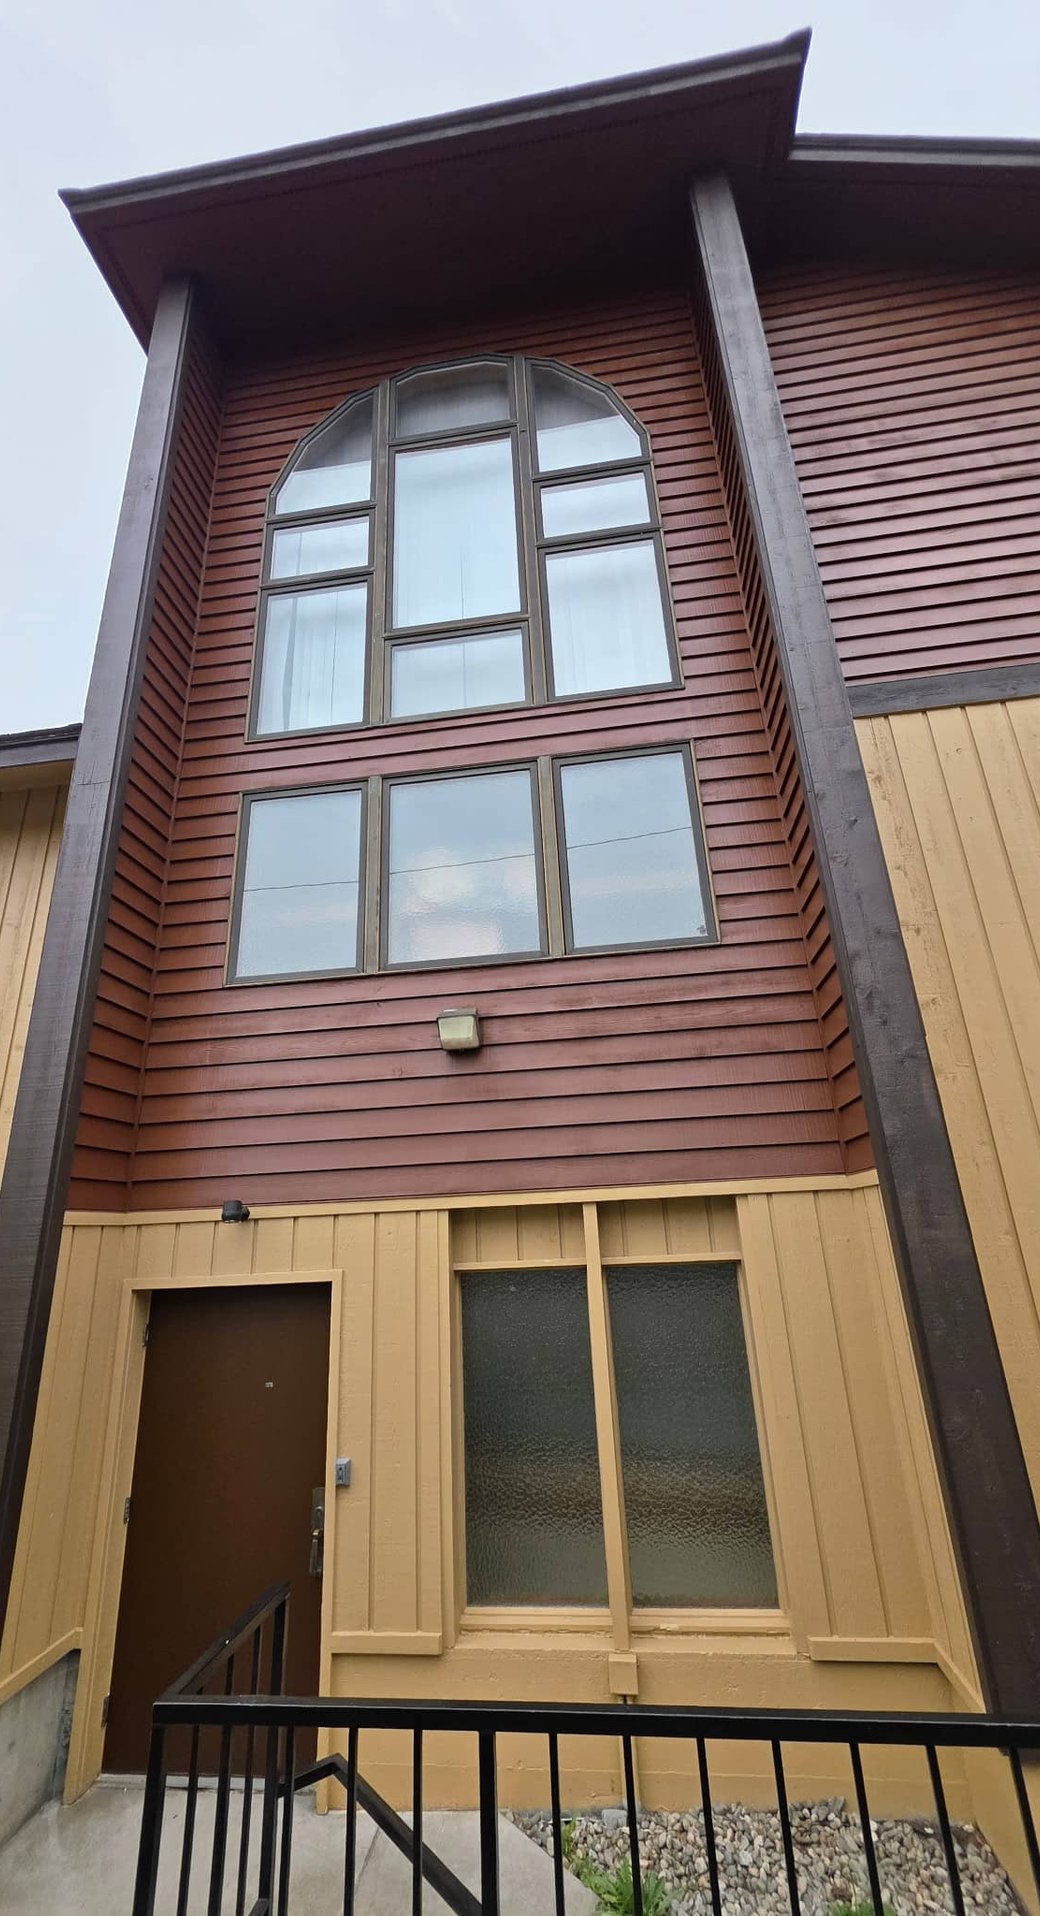
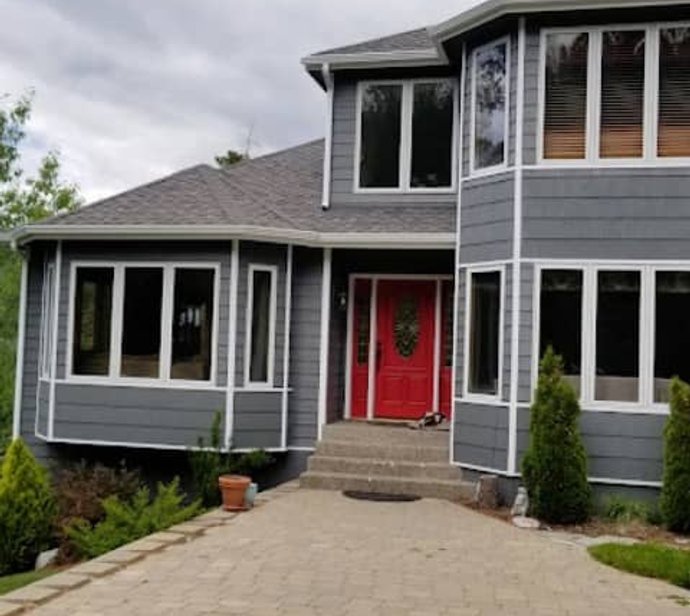
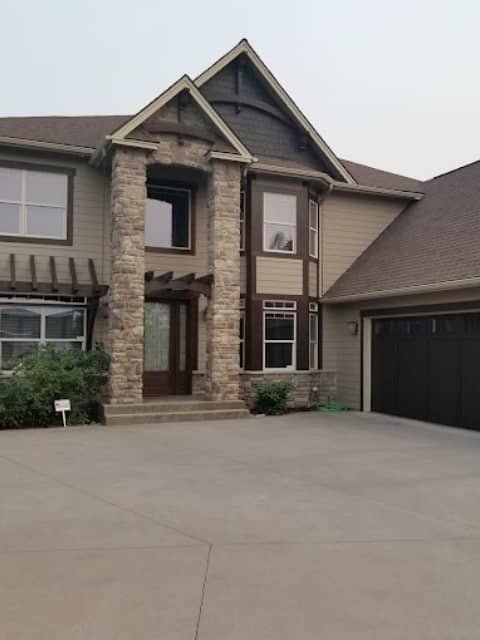
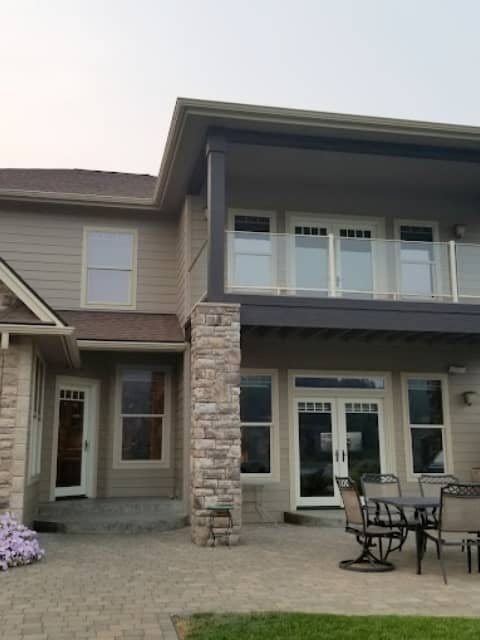
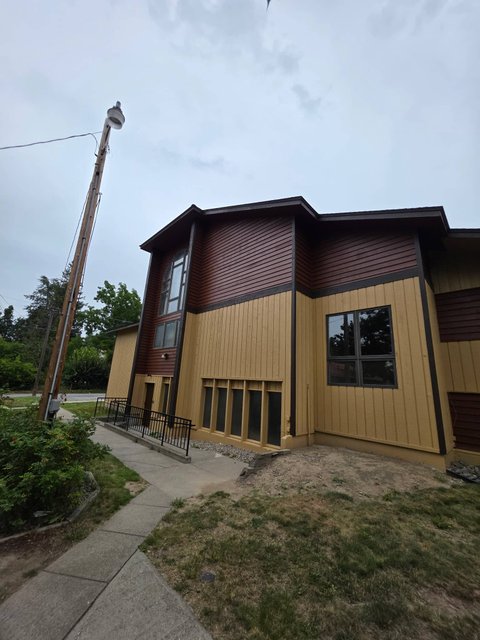
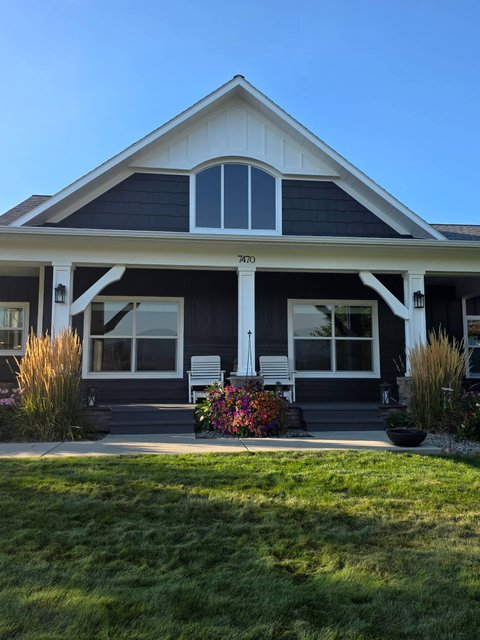
Expert House Painting Services Bonners Ferry & Coeur d'Alene, ID
Honey Do Painting is proud to serve the communities of Bonners Ferry and Coeur d'Alene, Idaho, with our top-quality house painting services. Our experienced team of painters understands the unique challenges and requirements of homes in these areas, and we work closely with homeowners to ensure that their painting projects are completed to the highest standards.
Whether you need exterior painting to protect your home from the elements and enhance its curb appeal, or interior painting to refresh your living spaces and create a more inviting atmosphere, Honey Do Painting has the skills and expertise to get the job done right. We use only the best materials and techniques to ensure a flawless finish that will stand the test of time.
As a local company, we take pride in our commitment to customer satisfaction and our deep roots in the communities we serve. When you choose Honey Do Painting for your house painting needs in Bonners Ferry or Coeur d'Alene, you can trust that you're working with a team that cares about your home as much as you do.
Learn MoreOur Photo Gallery
Dedicated To Customer Satisfaction
As a locally owned and operated business, we deeply understand the community's needs, ensuring that every service is tailored to your unique requirements. Our commitment to customer experience is reflected in our personalized approach, timely response, and open communication, making every interaction with us seamless and satisfactory.

Attention To Detail
Meticulous painters ensuring flawless finishes, never cutting corners, and always striving for perfection.

100% Satisfaction
Your happiness is our priority; we guarantee your complete satisfaction with our work.

35+ Years Experience
Decades of expertise, tackling projects of all sizes and complexities with professionalism and skill.

Giving Back
Hiring us means supporting the Children's Village in Coeur d'Alene, as we donate 10% of our proceeds to this vital community organization.
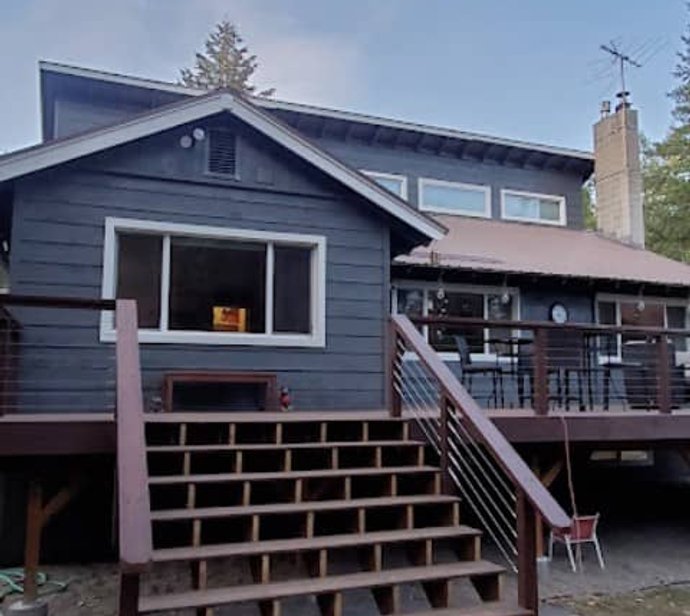
House Painting And Home Remodeling Services
At Honey Do Painting, we take immense pride in our ability to deliver exceptional results across a wide range of services. Our team of skilled professionals possesses the expertise and experience necessary to tackle any project, whether it's carpentry, cabinet painting, deck and fence restoration, cabinet installation, pressure washing, or kitchen and bathroom remodeling. We approach each task with meticulous attention to detail, ensuring that every aspect of the job is completed to the highest standards of craftsmanship and quality.
Carpentry Services
Skilled carpenters delivering custom woodworking, repairs, and installations for your home or business.
Cabinet Painting
Transforming your cabinets with a fresh, professional paint job, enhancing your kitchen's appearance.
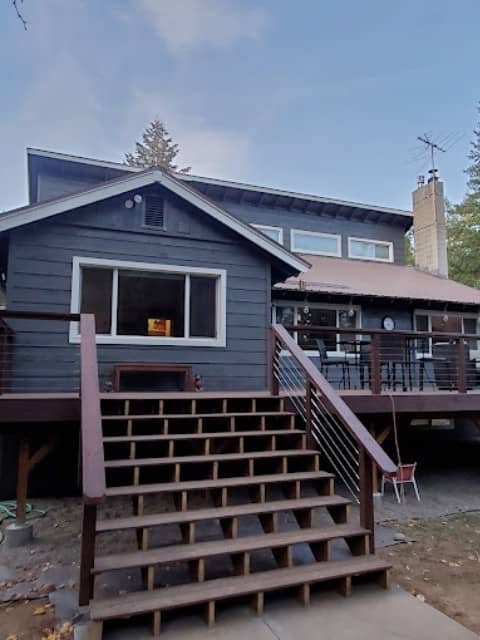
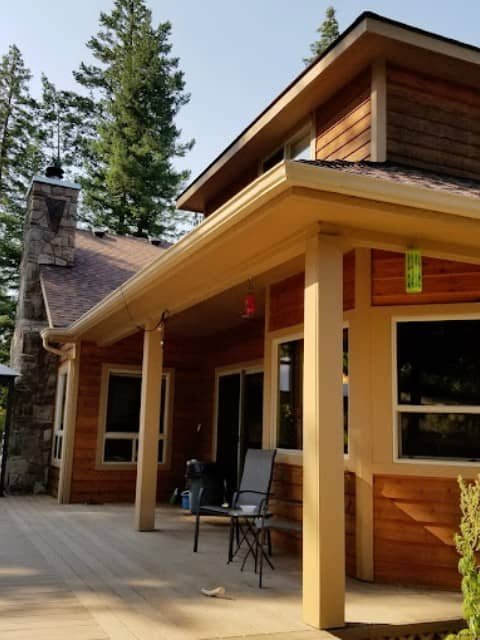
Deck & Fences
Restoring and protecting your outdoor living spaces with expert deck and fence painting services.
Cabinet Installation
Professional cabinet installation services for a seamless, functional, and stylish kitchen upgrade.
Pressure Washing
Powerful pressure washing techniques to clean and refresh your home's exterior surfaces.
Kitchen & Bath Remodels
Transforming your kitchen and bathroom with expert remodeling services, blending functionality and style.


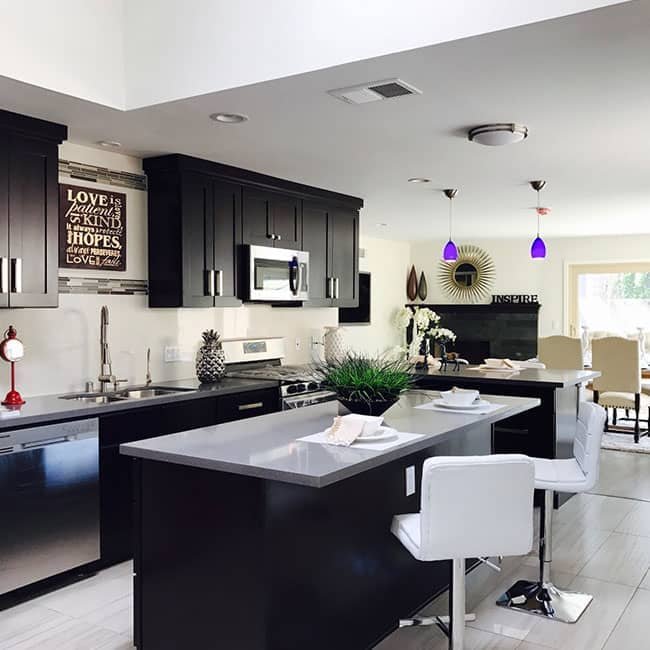

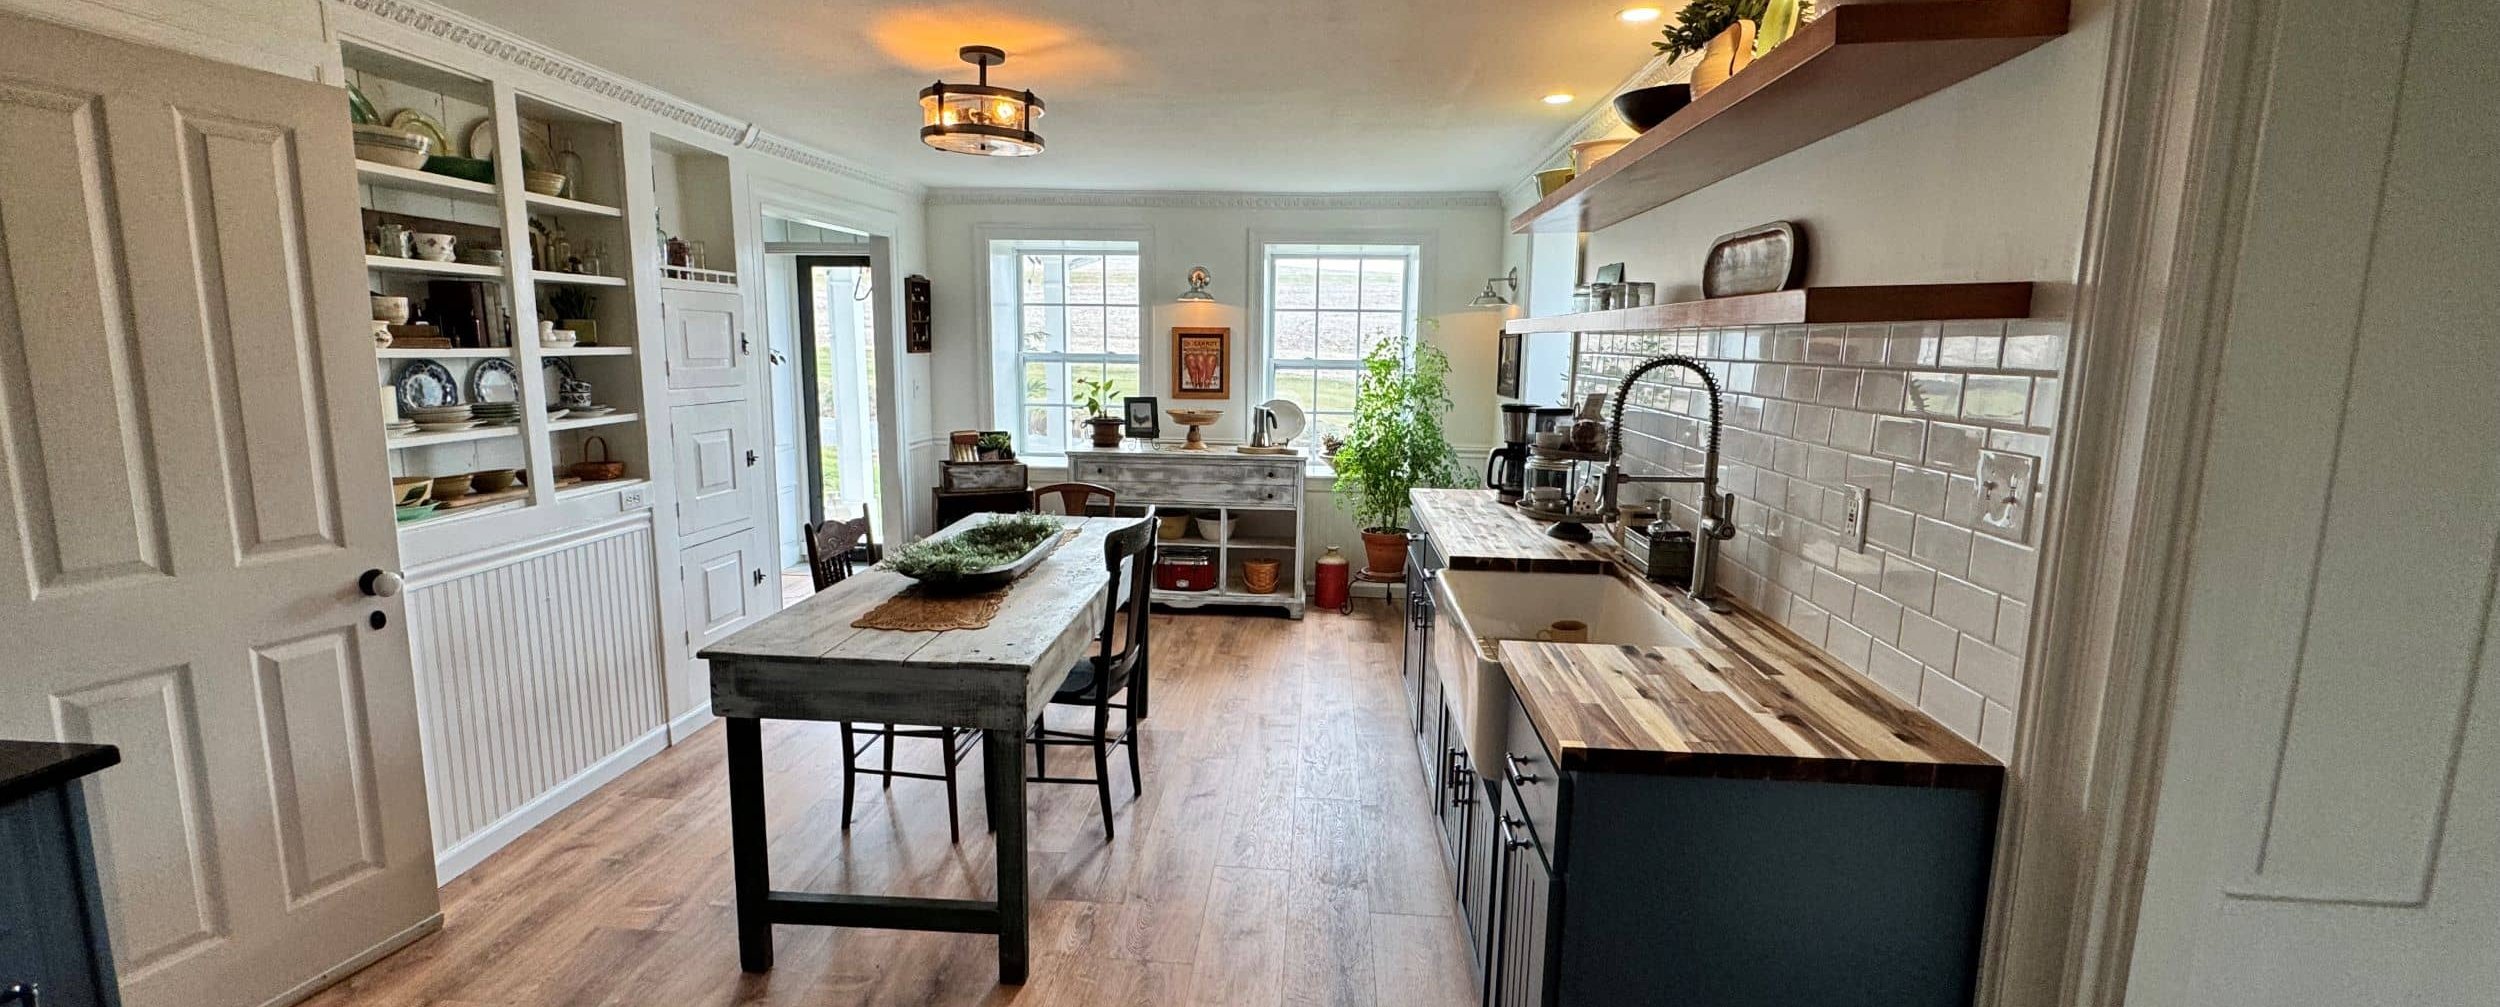
Kitchen and Bathroom Remodeling Services
Honey Do Painting offers top-notch kitchen and bathroom remodeling services to homeowners in Bonners Ferry and Coeur d'Alene, Idaho. Our experienced team of remodeling experts specializes in transforming outdated or dysfunctional kitchens and bathrooms into beautiful, efficient, and modern spaces that meet your unique needs and preferences.
Whether you're looking to update your kitchen with custom cabinets, high-end appliances, and a modern backsplash, or transform your bathroom with a luxurious walk-in shower, stylish vanity, and elegant fixtures, Honey Do Painting has the expertise and resources to bring your vision to life. We pride ourselves on our attention to detail, superior workmanship, and commitment to customer satisfaction, and we strive to exceed your expectations with every kitchen and bathroom remodeling project we undertake in Bonners Ferry and Coeur d'Alene, ID.
Book Your Appointment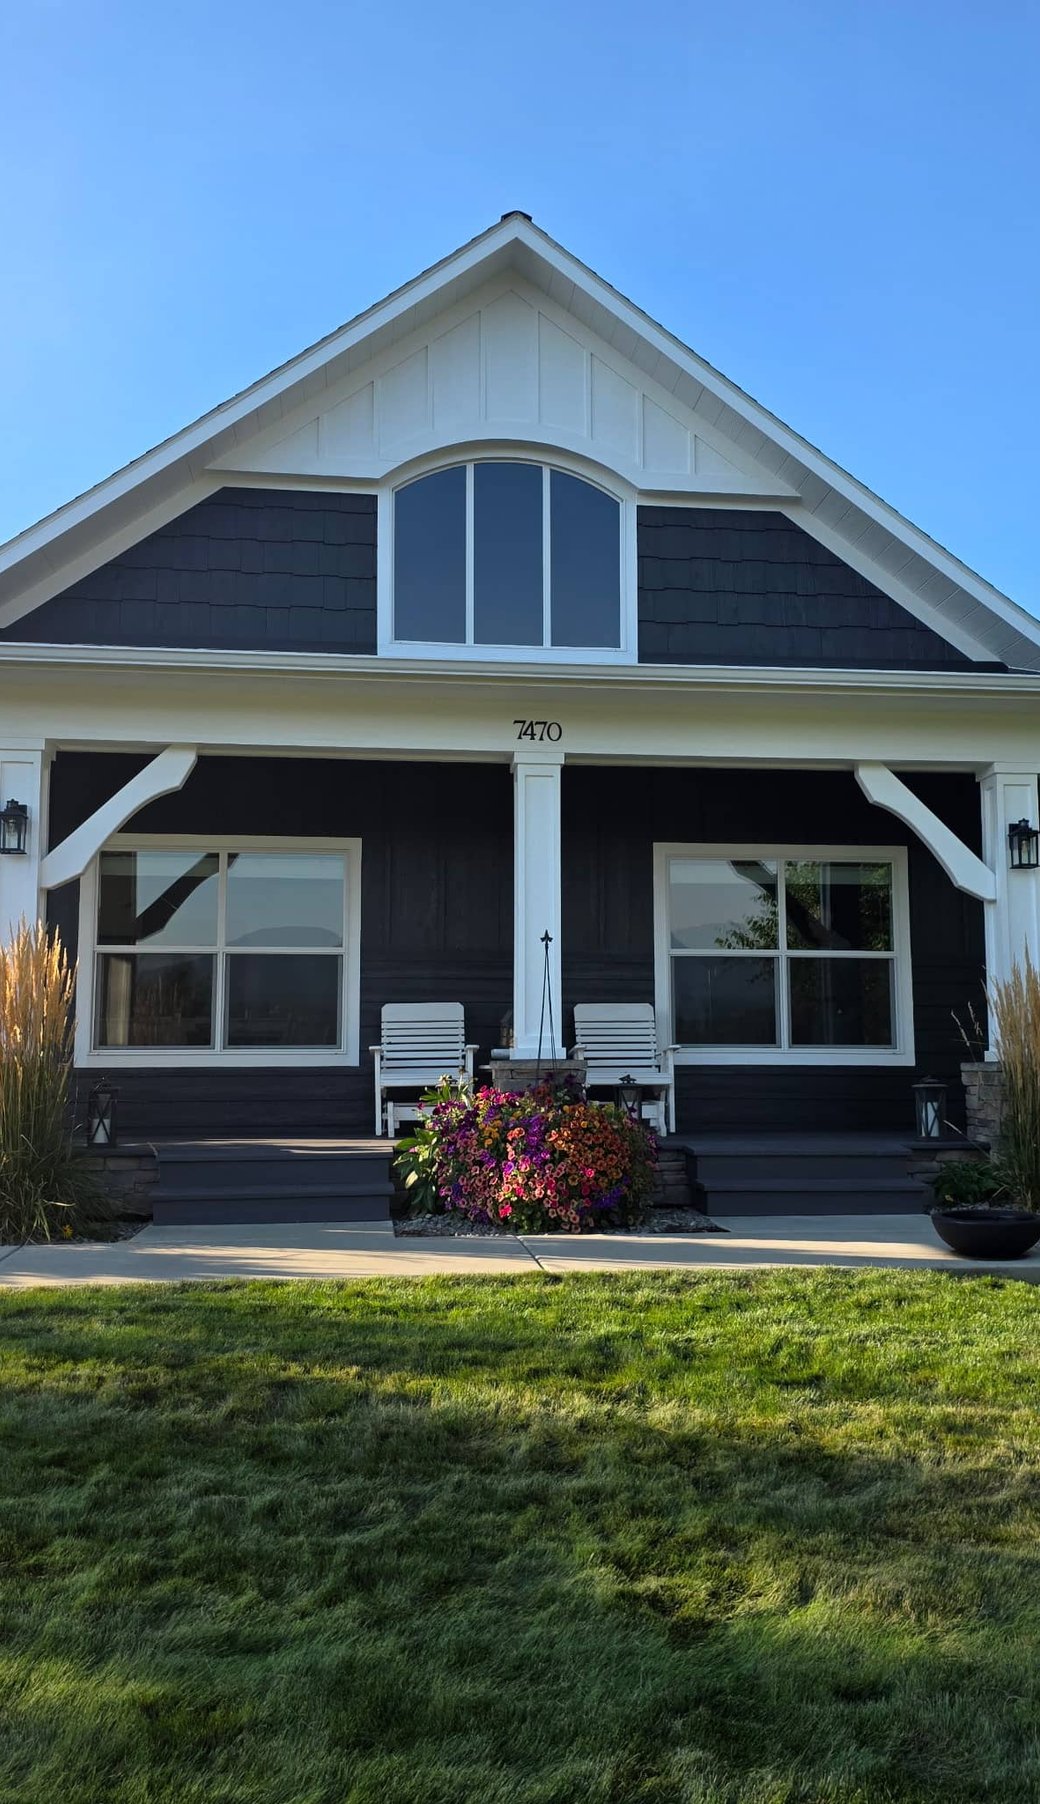
Your Trusted Partner for Painting Services in North Idaho
Honey Do Construction LLC is a family-owned painting and flooring company based in Coeur d'Alene, Idaho. With over a decade of experience, we pride ourselves on delivering exceptional craftsmanship and professionalism to residential and commercial clients throughout North Idaho, from Bonners Ferry to Coeur d'Alene.
We are committed to providing top-quality painting and flooring services while making a positive impact on our community. We believe in second chances and strive to train individuals who have faced challenges in life, providing them with valuable vocational skills and support as they work to provide for their families. By hiring Honey Do Construction, you not only receive outstanding painting and flooring services but also contribute to our Pay It Forward program, which helps uplift and empower members of our community.
Choose Honey Do Construction LLC for your painting and flooring needs in North Idaho, and join us in making a difference in the lives of others while enhancing the beauty and value of your property. Contact us today for a free estimate and experience the Honey Do difference.
Learn MoreTrusted By Homeowners Across The Tri Cities Area
These reviews highlight our dedication to customer satisfaction and the impact of our work on improving homes and lives. They serve as a valuable guide for new clients looking to understand the level of service and results they can expect from partnering with us.
Superior!
Honey Do Painting LLC is a superior company! Owner, Joey, is honest, professional and dedicated to quality service. His pricing is more than fair, especially with his attention to every detail and keeping to agreed upon schedules. The finished product depicts Joey’s experience as a painter who takes pride in his work!
Robert MurrayUnderstood Our Vision
Joe and his crew did an amazing job painting the entire interior of our home, and staining the exterior too. It looks even better than we had envisioned! The Honey Do team was efficient, professional, and meticulously tidy each and every day they were here. They took extra precautions to protect our wood floor and furniture, by carefully covering everything. And Joe listened to us. He understood our vision, and gave great suggestions when we needed his professional advice.
Jill LedfordAmazing Company
We utilized Honey Do when we needed to update the inside of our home. They were extremely professional yet personal at the same time. From the first moment we met them, we knew they were the company for our needs. We would use them again for future projects without hesitation! Thank you!
Lisa Sovenski